Okay, I know you all want to know what the sneak peek is all about, but first I have to tell give some updates.
#1: The last post I did, I did two colors; one for me one for Nicki. I've decided that looks too obnoxious with my green, so for me, from now on, I will still post in green, but when the girls post, it will be in black. I'll talk to June and see if that is something she too wants to do.
#2: June told me that she feels really bad for not posting, and that she is working on RP. She and I have had a lot of work to do, especially on the weekends. She said she will work on her "Sneak Peek Post" and will post that soon also :)
#3: I'm thinking Stitch-It Saturday is going to have to turn into a every other week type of thing. I had a dress tutorial planned for last week, but the dress ended up being too tight. Soooo....that means that I will have to alter it a bit.
#4: This is the last I promise. I ordered something online again! It is an AG item, I just didn't order it from AG. It is NOT a doll. So guess away, just keep that in mind :)
Okay, now for the sneak peek!
YAY!!! Halloween is coming up, so the sneak peek is of their costumes. It would be an outdoor picture, but it is wayyyy too dark outside for that. So, I had to resort to an indoor picture with flash. I will tell you in a post later with June what each of them are going as. (with pictures taken outdoors)
What do you think the girls are going as (mine or June's)?
~<3Ginny~
Monday, October 20, 2014
Sneak Peek!!
Labels:
Caroline,
Cecile,
Felicity,
Ginny,
Julie,
Marie,
Marie-Grace,
Molly,
Nicki,
Photoshoot,
Update
Saturday, October 18, 2014
A New Button
Hello everyone! So our old button was kind of lame, so we decided to make a new one. It looks like this:
What do you guys think? In case you were wondering, the text at the bottom says, "The adventures of 17 girls in their own little world."
So...if you have our old button, can you please replace it with this one? Thanks guys!
~<3Ginny~ and **June**
What do you guys think? In case you were wondering, the text at the bottom says, "The adventures of 17 girls in their own little world."
So...if you have our old button, can you please replace it with this one? Thanks guys!
~<3Ginny~ and **June**
Wednesday, October 15, 2014
The Autumn Sunshine~A photoshoot
Hello everyone! Sorry for not posting over the weekend, June and I nearly had death-by-homework :). Anyway, the other day it was really cold outside, but I took Nicki out for a quick photo shoot. She wants to tell you about the shoot, so I'll let her take it away! (Oh BTW, half of these photos are watermarked but the other half are not because Pic Monkey stopped working again :[ It's being finicky so I will try to watermark them as soon as the software decides it wants to work)
Hiya guys! So I would totally be posting in blue, but Aunt June already posts in that color and Cecile took the other color I would want. Sooooo....I will post in orange because my favorite sneakers are that color :)
Anywho, for those of you who don't know (since mom has been kind of slow at updating our personality pages), I am a fashion fanatic. So when mom (or Ginny as you know her) told me she wanted to do a photo shoot, I immediately volunteered. Summer is my fav season, but summer is obviously over. However, I ADORE sweaters, so the theme of this photo shoot is Sweater Weather!!
Mom insisted on putting this picture of our crab apple tree because of the colors. (I mean seriously, look at all the red and orange and green!! It is so AMAZING!!)
My curls actually behaved!!!!!!!!!!!!!!
Mom really likes the lighting in this picture, but I'm pretty sure she has no idea how annoying that light was in my face, I mean seriously?!?
We found raspberries on the Raspberry bush...in OCTOBER! They actually tasted pretty dang good :)
I think this may be my fav :)
If you can't tell, I love doll feet in pictures. I couldn't resist adding another one ;)
This one had my hair and my arm in it so I had to crop it X)
What did you guys think? Which is your favorite? Thanks for reading guys <3
~<3Ginny~ and =Nicki=
Camera: Nikon Coolpix S4300
Doll: Nicki GOTY 2007
Clothing: Sweater form Rebecca's School Set (AG)
Top from Julie's Skirt Set (AG)
Jeans Made by me
Shoes (AG)
Hiya guys! So I would totally be posting in blue, but Aunt June already posts in that color and Cecile took the other color I would want. Sooooo....I will post in orange because my favorite sneakers are that color :)
Anywho, for those of you who don't know (since mom has been kind of slow at updating our personality pages), I am a fashion fanatic. So when mom (or Ginny as you know her) told me she wanted to do a photo shoot, I immediately volunteered. Summer is my fav season, but summer is obviously over. However, I ADORE sweaters, so the theme of this photo shoot is Sweater Weather!!
Mom insisted on putting this picture of our crab apple tree because of the colors. (I mean seriously, look at all the red and orange and green!! It is so AMAZING!!)
My curls actually behaved!!!!!!!!!!!!!!
Mom really likes the lighting in this picture, but I'm pretty sure she has no idea how annoying that light was in my face, I mean seriously?!?
We found raspberries on the Raspberry bush...in OCTOBER! They actually tasted pretty dang good :)
I think this may be my fav :)
If you can't tell, I love doll feet in pictures. I couldn't resist adding another one ;)
This one had my hair and my arm in it so I had to crop it X)
What did you guys think? Which is your favorite? Thanks for reading guys <3
~<3Ginny~ and =Nicki=
Camera: Nikon Coolpix S4300
Doll: Nicki GOTY 2007
Clothing: Sweater form Rebecca's School Set (AG)
Top from Julie's Skirt Set (AG)
Jeans Made by me
Shoes (AG)
Thursday, October 9, 2014
Posts May Dwindle...
Hello everyone!! So unfortunately, until the end of October, June and I both have A LOT of stuff going. I have boatloads of homework because of course in all of my honors classes they thought it would be really fun to bombard us with homework. I also have a concert for orchestra next week, and she has a bunch of after school cooking class thingy's to do. ANYWAY, I'm done with my short complaint. Both June and I don't have school on Halloween because of the end of first quarter (whoop-whoop!), so we may post a Halloween party post thingy or something like that. So the thing is that we may not post for several more days because of our homework. (I literally have only been working on English homework for the last 2 hours :P) We're really sorry guys, we don't want to have to not post, but with the amount of homework we have, blog posting is just not feasible right now. So, for now, we will definitely try to post on the weekends. We also will guarantee a couple posts next weekend because we have a four day weekend. Anyway. Sorry if this was a disappointing post, we're not trying to torture you all, we promise ;) We will speak again over the weekend!
~<3Ginny~
P.S. What kind of post is a post without a picture??? Here is a couple pictures of the sunset the other night that I took with my mom's Nikon D40 :) (not watermarked 'cuz HW is more important right now ;))
Uggghhh, do you all see that little black dot on the right hand side? That is some weird piece of debris that has been stuck in my mom's camera's lens ever since we got it. It's really annoying.
~<3Ginny~
P.S. What kind of post is a post without a picture??? Here is a couple pictures of the sunset the other night that I took with my mom's Nikon D40 :) (not watermarked 'cuz HW is more important right now ;))
Uggghhh, do you all see that little black dot on the right hand side? That is some weird piece of debris that has been stuck in my mom's camera's lens ever since we got it. It's really annoying.
Sunday, October 5, 2014
Our Story, A Very Short Post
Hello again everyone, sorry about three posts in one day, but hey, we have something important to tell you!
We wrote down our AG story on our "About Us" page. It's a long read, but probably worth it if you want to know how we got into American Girl and Blogging.
Anyway, that is all lovely people!
~<3Ginny~ and **June**
We wrote down our AG story on our "About Us" page. It's a long read, but probably worth it if you want to know how we got into American Girl and Blogging.
Anyway, that is all lovely people!
~<3Ginny~ and **June**
Two Posts in one: Stitch-it Saturday and a Photo-Shoot
Hey guys! I know I said we would post these things yesterday, but we had a sewing meeting thingy to go to (not sure what to call it) and I had to go the Violin shop to see how much it would cost to get it serviced. Anywho, we were home all day today, so therefore, today is the perfect day to post it! (BTW Pic Monkey was not working for some strange reason, so these photos are NOT watermarked.)
Today's Stitch-it Saturday: Doll Quilt
I know what you're all thinking, "But wait, shouldn't that be easy?" Yeah. That's what I thought too. However, this quilt is tricky because there are several ways you can make it, and it uses a different technique.
This is the finished product (minus quilting). I made this for Marie-Grace since she didn't have any bedding.
First, you have to pick your fabrics. I had a pack of charm squares from Moda (4"x4" squares), so I used those. You also have to pick a backing.
You then pair up the squares. You'll want to pair up different colors depending on what pattern you choose. There are no wrong ways to make this quilt! For instance, here I picked yellow and white, and paired them up with right sides facing each other. Lay a ruler diagonally across the fabric.
Draw a line with a PENCIL (not a pen; pens stain the fabric), tracing along the edge of the ruler.
Example
You then will do that for each pair of squares.
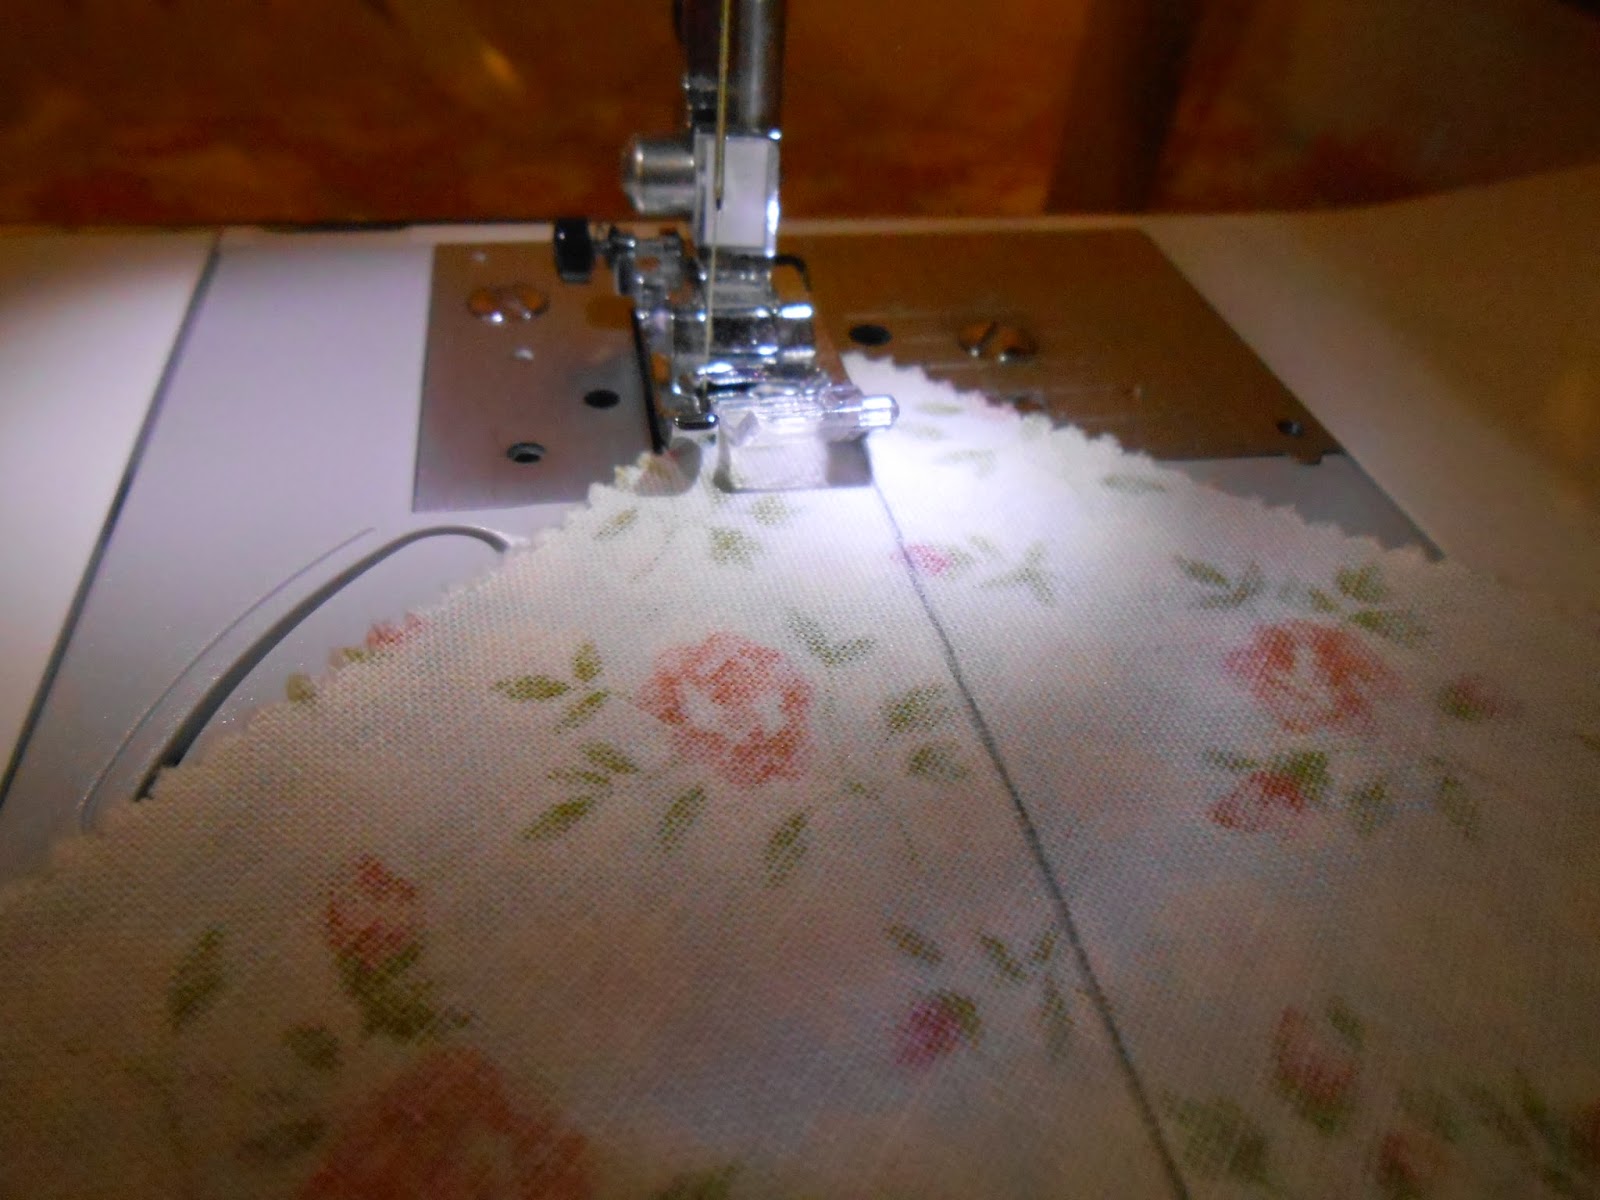
Once you've traced, sew with a quarter inch seam on either side of the line. I used a quarter-inch-foot, so all I had to do was align the foot with the line, flip it over after sewing, and then align the other sign. I was in a hurry when I made this quilt, so I just used my mom's machine, but if you have a vintage sewing machine or one without a quarter-inch-foot, you will want to measure from the foot where that seam would be.
Here is what the stitch should look like, just on both sides of the line.
You will also want to cut the excess thread after you're done sewing this part.
(Sorry these photos are sideways) If you sewed your pieces in a chain, you'll want to separate them from each other.
After you've sewn on either side of the line, align a clear ruler with the line you traced.
Then cut along that line, creating two squares made of triangles. If using a rotary cutter, be sure to apply enough pressure to the cutter that you won't slip and cut the seams. If using a pair of scissors, be sure to cut as straight as possible.
This is an example of what the square will look like. These triangles are called half square triangles. You can also just cut each square in half in the first place, but that can become tedious because you then have to sew each triangle to another triangle.
Do this step with all of the rest of the pairs.
Then, iron the squares, pressing the seam to one side. I used steam so that the squares would stay flat.
(Sorry about the camera strap in the picture :))
Iron all of the squares.
The hardest part is done! Now, all you have to do is decide what kind of pattern you want to create with the colors in your quilt.
You could do flying geese...
Or a stripe of sorts...
Or arrange the squares in a totally random pattern, it's your choice!!
I chose to create a diamond pattern.
If you have extra pieces, you can make a matching pillow to go with the quilt.
After you decide what pattern you want to use, you sew each row, pairing up pieces once again.
You then iron the row.
From there, you do the same for each row.
You can then sew each of your completed rows together. Make sure that each row is sewed correctly, because if not, your pattern can be screwed up.
Be sure to iron!
Since I did the diamond pattern, the "intersection" of the pieces looked like this.
After the quilt top is sewn together, choose a border. Try to coordinate colors, if you do so, your quilt will match a lot better.
Cut the borders to whatever width you desire, and sew them on, doing the sides opposite from each other first, and then the sides adjacent to those.
Your quilt top is finished!! Next week, I'll show how to bind your quilt. :)
So what did you think of the first Stitch-It Saturday? Here is the second part, the extremely short photo shoot of Molly in a shirt I made for her :) Sorry that most of the pictures are sideways, I wasn't able to edit them so ya know ;)
Thanks guys, have a wonderful week!
~<3Ginny~
Today's Stitch-it Saturday: Doll Quilt
I know what you're all thinking, "But wait, shouldn't that be easy?" Yeah. That's what I thought too. However, this quilt is tricky because there are several ways you can make it, and it uses a different technique.
This is the finished product (minus quilting). I made this for Marie-Grace since she didn't have any bedding.
First, you have to pick your fabrics. I had a pack of charm squares from Moda (4"x4" squares), so I used those. You also have to pick a backing.
You then pair up the squares. You'll want to pair up different colors depending on what pattern you choose. There are no wrong ways to make this quilt! For instance, here I picked yellow and white, and paired them up with right sides facing each other. Lay a ruler diagonally across the fabric.
Draw a line with a PENCIL (not a pen; pens stain the fabric), tracing along the edge of the ruler.
Example
You then will do that for each pair of squares.
Once you've traced, sew with a quarter inch seam on either side of the line. I used a quarter-inch-foot, so all I had to do was align the foot with the line, flip it over after sewing, and then align the other sign. I was in a hurry when I made this quilt, so I just used my mom's machine, but if you have a vintage sewing machine or one without a quarter-inch-foot, you will want to measure from the foot where that seam would be.
Here is what the stitch should look like, just on both sides of the line.
You will also want to cut the excess thread after you're done sewing this part.
(Sorry these photos are sideways) If you sewed your pieces in a chain, you'll want to separate them from each other.
After you've sewn on either side of the line, align a clear ruler with the line you traced.
Then cut along that line, creating two squares made of triangles. If using a rotary cutter, be sure to apply enough pressure to the cutter that you won't slip and cut the seams. If using a pair of scissors, be sure to cut as straight as possible.
This is an example of what the square will look like. These triangles are called half square triangles. You can also just cut each square in half in the first place, but that can become tedious because you then have to sew each triangle to another triangle.
Do this step with all of the rest of the pairs.
Then, iron the squares, pressing the seam to one side. I used steam so that the squares would stay flat.
(Sorry about the camera strap in the picture :))
Iron all of the squares.
The hardest part is done! Now, all you have to do is decide what kind of pattern you want to create with the colors in your quilt.
You could do flying geese...
Or a stripe of sorts...
Or arrange the squares in a totally random pattern, it's your choice!!
I chose to create a diamond pattern.
If you have extra pieces, you can make a matching pillow to go with the quilt.
After you decide what pattern you want to use, you sew each row, pairing up pieces once again.
You then iron the row.
From there, you do the same for each row.
You can then sew each of your completed rows together. Make sure that each row is sewed correctly, because if not, your pattern can be screwed up.
Be sure to iron!
Since I did the diamond pattern, the "intersection" of the pieces looked like this.
After the quilt top is sewn together, choose a border. Try to coordinate colors, if you do so, your quilt will match a lot better.
Cut the borders to whatever width you desire, and sew them on, doing the sides opposite from each other first, and then the sides adjacent to those.
Your quilt top is finished!! Next week, I'll show how to bind your quilt. :)
So what did you think of the first Stitch-It Saturday? Here is the second part, the extremely short photo shoot of Molly in a shirt I made for her :) Sorry that most of the pictures are sideways, I wasn't able to edit them so ya know ;)
Thanks guys, have a wonderful week!
~<3Ginny~
Subscribe to:
Posts (Atom)